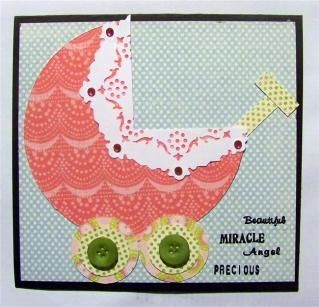
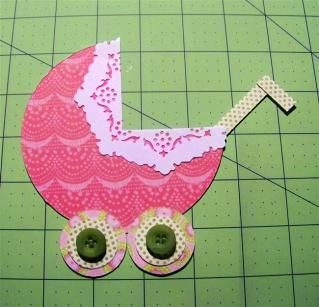
Its time again to post over here at the blog and I have a fun tutorial for you to create a baby carriage to put on a layout, card or on altered piece like a banner. I used it for my sister-in-law who had my niece in March.
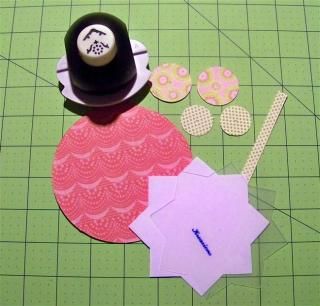
In my project the tools I used are Kreaxions Circle Cutter, Kreaxions 4 in 1 Punch – 904 Circle (with template A) and Kreaxions Star Stencil Octagon.
Here is my card:
Supplies
1- 4 inch circle
2- 1 inch circles
2- 1/2 inch circles
Strip of Pattern Paper
Star Stencil Template
Punch 904 using Template A
Adhesive
Buttons or Brads
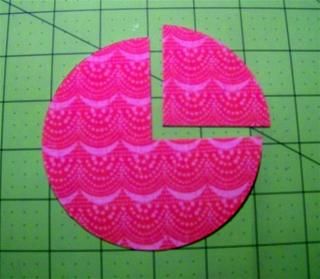
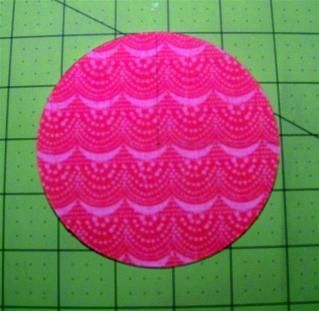
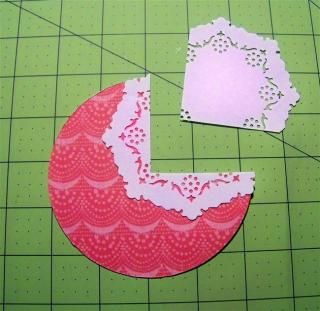
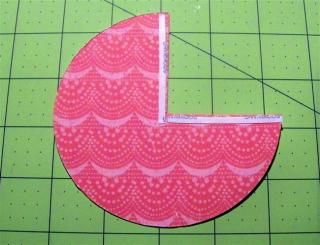
Step One:Take your large circle and use the hole in the center as your mark to make marks t remove a section of the circle shown here (sorry for the blurry photos)
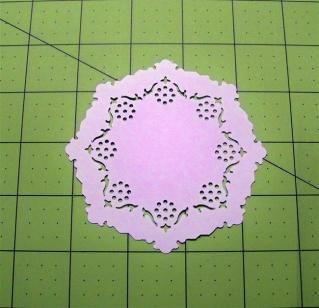
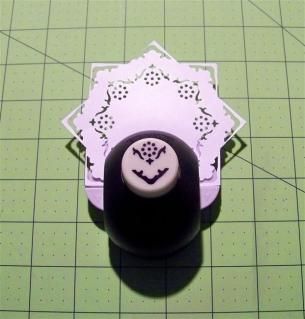
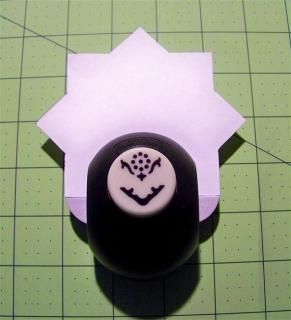
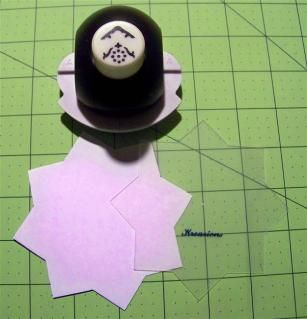
Step Two:Grab your star stencil and punch 904 using template A. Start on one of the tips and punch all around. There will be scraps around it so just trim them off.
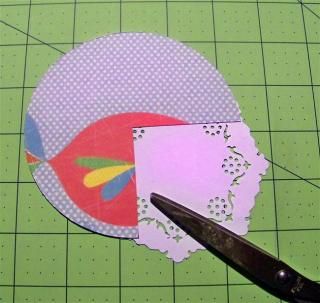
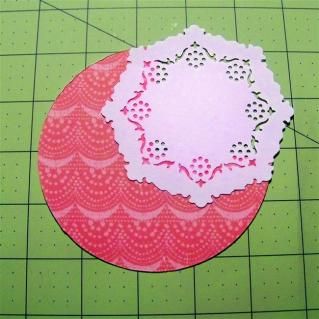
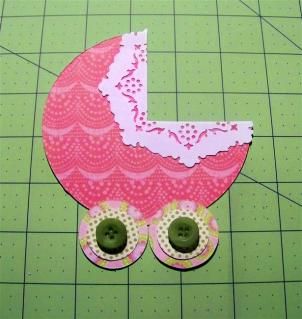
Step Three:Adhere glue to the circle shown here and then add the doily on top. Bring it over till some of it is on the circle and the rest hanging. Trim the excess off to gret ruffles on the carriage.
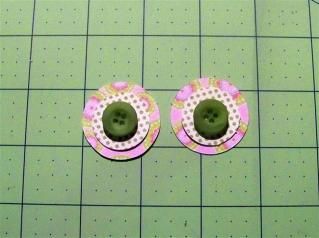
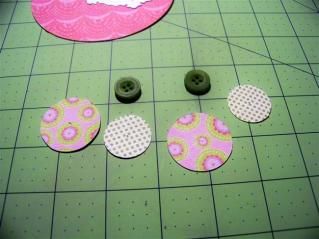
Step Four:Take your small circles and glue them together then add buttons on top of it. Then add them to the carriage to create wheels on it.
Step Five:Take the strip of paper trim the top a bit to create a handle for the carriage and adhere it to the back. You are done to add the piece to your project.
I love how it turned out and I will making another one for my brother and his wife when my nephew is due in June.
Thanks for looking
Barbara Lochridge
Aw that is too cute!! Absolutely loved the tutorial! You worked that circle cutter!!
GinniG
Oh LUCY!!! It’s ADORABLE!!! And it’s JUST in time for me to welcome my BFF’s first grandson! LOVE the tutorial and that punched circle for the lacy carriage cover is PERFECT!!! TFS GF!!!
Linda Beeson
Wow, this is seriously the cutest idea! What an amazing little girly doily.